My friend Mary had a birthday last week so I
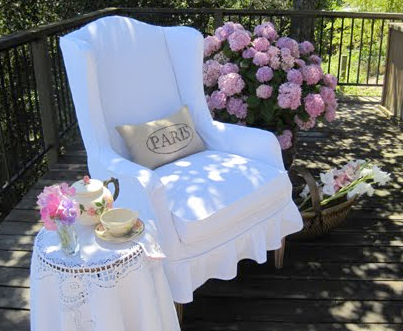
made her a French Style Feedsack Pillow
and
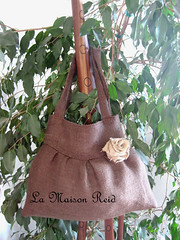
this tote
I was pretty happy with this, my first attempt at a tote bag.


I started with two 15" squares of burlap. The two pieces are
cut together, right sides together.

In order to have a flat bottom tote rather than a flat sided tote you need to cut out the corners of both the front and the back of the tote. I cut a 2" x 2" square from each corner. Now sew both side seams and the bottom seam.
Now you'll "square the corners." Open your 2" corners. In the above photo the side seam is in my left hand and the bottom of the tote seam is on the right.

Match the side seam and bottom seam and stitch this seam with 1/2" seam. This will form
the bottom of the tote. For the lining I just duplicated the tote, same size but a print fabric.

Put the lining inside the tote, wrong sides together and fold down 1/2" of the lining and 1/2" of the burlap into the inside. Cut two 4" x 22" strips of burlap for the straps and sew a
center seam. Turn them right side out.

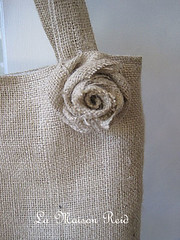
I loved the burlap rose tutorial here at Crystelle Boutique
and I attached it with a hot glue gun.


Mary loved both the tote and the pillow!


 Posts
Posts