I can't tell you what a feeling of accomplishment this is. I have read books and blogs
on how to make a slipcover for a wing chair but just never started. It's pretty scary
but once I started it went pretty quickly.

at upholstery but quickly changed my mind and opted to try a slipcover, instead.
When you have four cats who love to lounge on anything upholstered it makes more sense
to slip instead of permanent upholstery. The chair was poorly recovered in the pink/green floral which my husband quickly removed.
 Since the fabric was dark I covered it in cheap muslin so it wouldn't

show through the slipcover.

Already the chair looks better.

will be the button/velcro opening.


Here is the back piece pinned to front pieces.

more fitting and pinning pieces.

After pinning most of the pieces I added the piping into the seams then basted them together with embroidery cotton. It really held the pieces together more securely than pins and gave me a good sewing guide.

more basting

basted gathers at the arm.

I sewed the main pieces together and made a muslin cushion cover
to hold the feathers I had to add to it.
I then made a made a ruffle and more piping to edge it with.

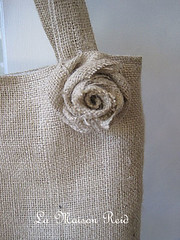
For the back I made burlap piping and burlap
covered buttons to match.

Actually, I tried to make burlap covered
buttons but they were too flimsy and it didn't work. I went to
my local upholsterer who made them for me for 50 cents apiece. Can't beat that!
The do-it-yourself buttons were $2.79 for THREE and they just collapsed when I
tried to cover them in burlap.

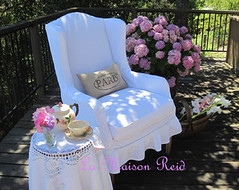
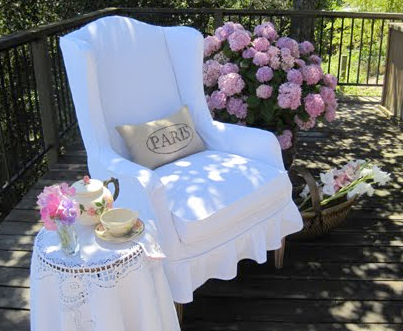
I couldn't be happier with how this turned out and how much I learned doing it.

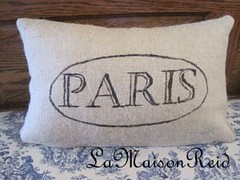
My new Burlap "Paris" Pillow that I made looks pretty good on it!

Oliver can't wait to get on it! It's his favorite chair.