I found a great tutorial on pleated pouches at
Skip to my Lou and decided to make a few small gifts.
I found the tutorial very good and learned about some of the pitfalls in making these.
I found that a 6" zipper worked better than the suggested 7". It's also very important to line
up the front part of the pouch with the backside while installing the zipper.
This isn't very apparent at first but after my seam ripper got a workout I learned!

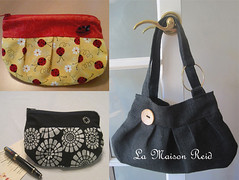
A cute ladybug button adorns this pouch. My mother loved hers!
An elegant black and white one for my dear friend, Ady (made one of these for myself, too!)
My friend, neighbor, cat lover and cat sitter, Ollie got this one topped in beige.
My friend Phyllis (also a cat lover) go this one in pink.
They are useful for so many things that clutter up a purse. A lipstick, jewelry, gum, pen, receipts.
Two 'pretty in pink' ones for my daughter's darling nieces, Rain and Ayla.
My niece, Ali loves horses. Hope she likes the little pony button!
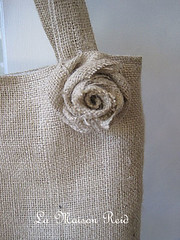
And for my daughter's new mother-in-law a burlap bag.
I MUST make one of these for ME! I'm getting better at the burlap bag and have
found that iron on interfacing is a must for the body. I've also learned how to feed interfacing into the straps after I've made and turned them making this bag much sturdier and easier to make.
I just made another burlap bag...white with yellow print lining. It's shaped just like the black bag above. Tutorial coming!
xox
Nancy


